> ## Documentation Index
> Fetch the complete documentation index at: https://docs.x6.ai/llms.txt
> Use this file to discover all available pages before exploring further.
# TypingMind
> This documentation is provided for informational purposes only and demonstrates how to configure and use our API with third-party AI chat interfaces. Any third-party software, websites, or services mentioned are not operated, controlled, or endorsed by us.
# **Introduction to TypingMind**
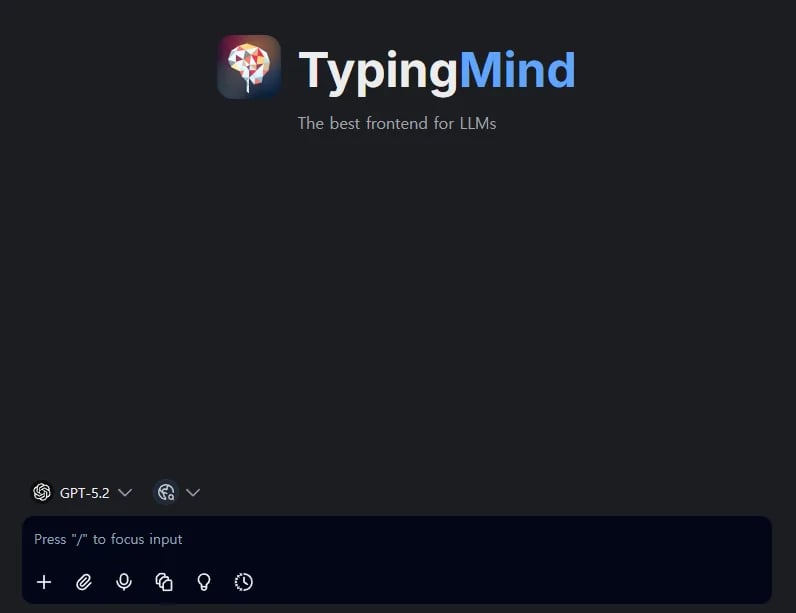 [**TypingMind**](https://www.typingmind.com/) is a professional, customizable chat interface (UI) that enables users to interact with multiple large language models (LLMs) such as GPT, Claude, and Gemini from a single platform. It offers enhanced features for organizing conversations, managing prompts, uploading documents for context (RAG), and building custom AI agents.
Key features include:
* Multi-provider model support with custom API configurations
* Advanced prompt library and conversation management
* Document upload capabilities for Retrieval-Augmented Generation (RAG)
* Options for personal use, team collaboration, and self-hosting for privacy
# **Step**
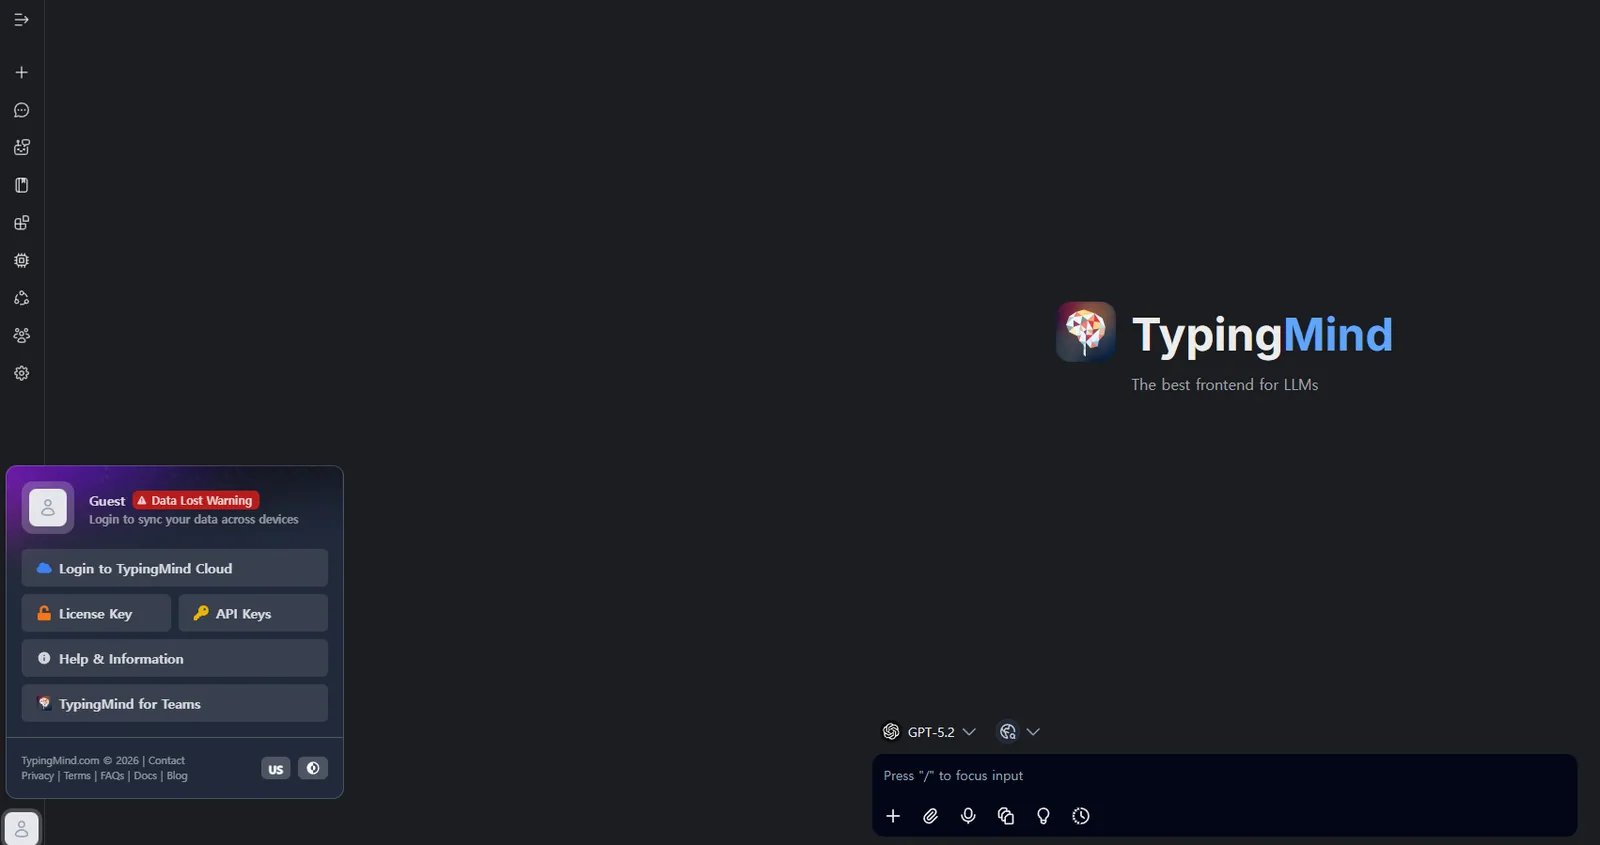
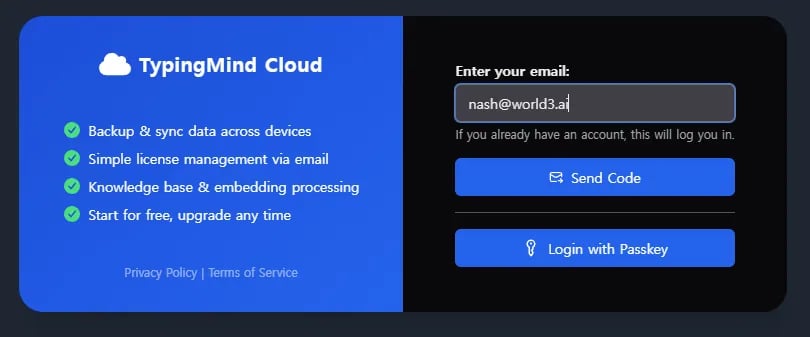
Navigate to [https://www.typingmind.com/](https://www.typingmind.com/) and authenticate using your email address.
[**TypingMind**](https://www.typingmind.com/) is a professional, customizable chat interface (UI) that enables users to interact with multiple large language models (LLMs) such as GPT, Claude, and Gemini from a single platform. It offers enhanced features for organizing conversations, managing prompts, uploading documents for context (RAG), and building custom AI agents.
Key features include:
* Multi-provider model support with custom API configurations
* Advanced prompt library and conversation management
* Document upload capabilities for Retrieval-Augmented Generation (RAG)
* Options for personal use, team collaboration, and self-hosting for privacy
# **Step**
Navigate to [https://www.typingmind.com/](https://www.typingmind.com/) and authenticate using your email address.
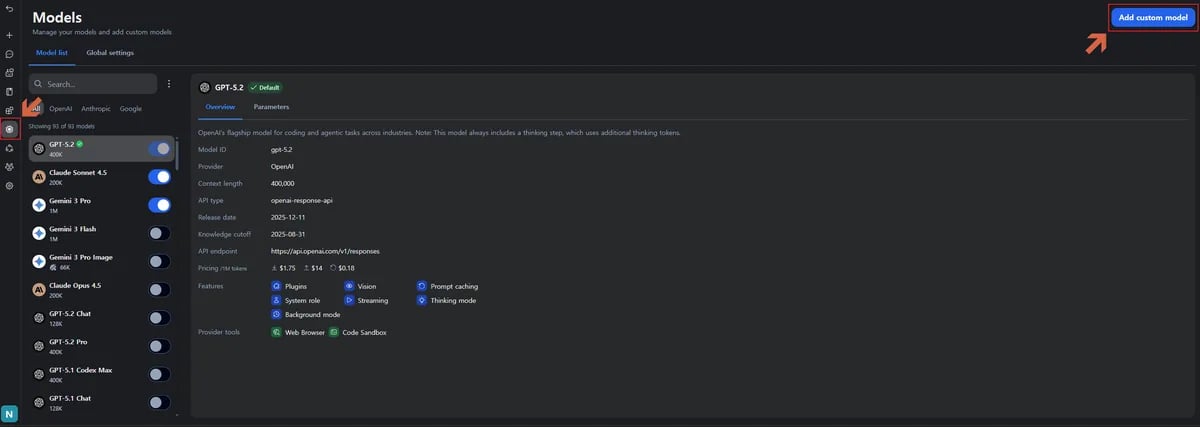
 Click the **Models** icon in the left sidebar, then select **"Add custom model"**.
 Creation Method: Select “Create Manually”.
Here are example model configurations compatible with both Anthropic and OpenAI formats.
Creation Method: Select “Create Manually”.
Here are example model configurations compatible with both Anthropic and OpenAI formats.
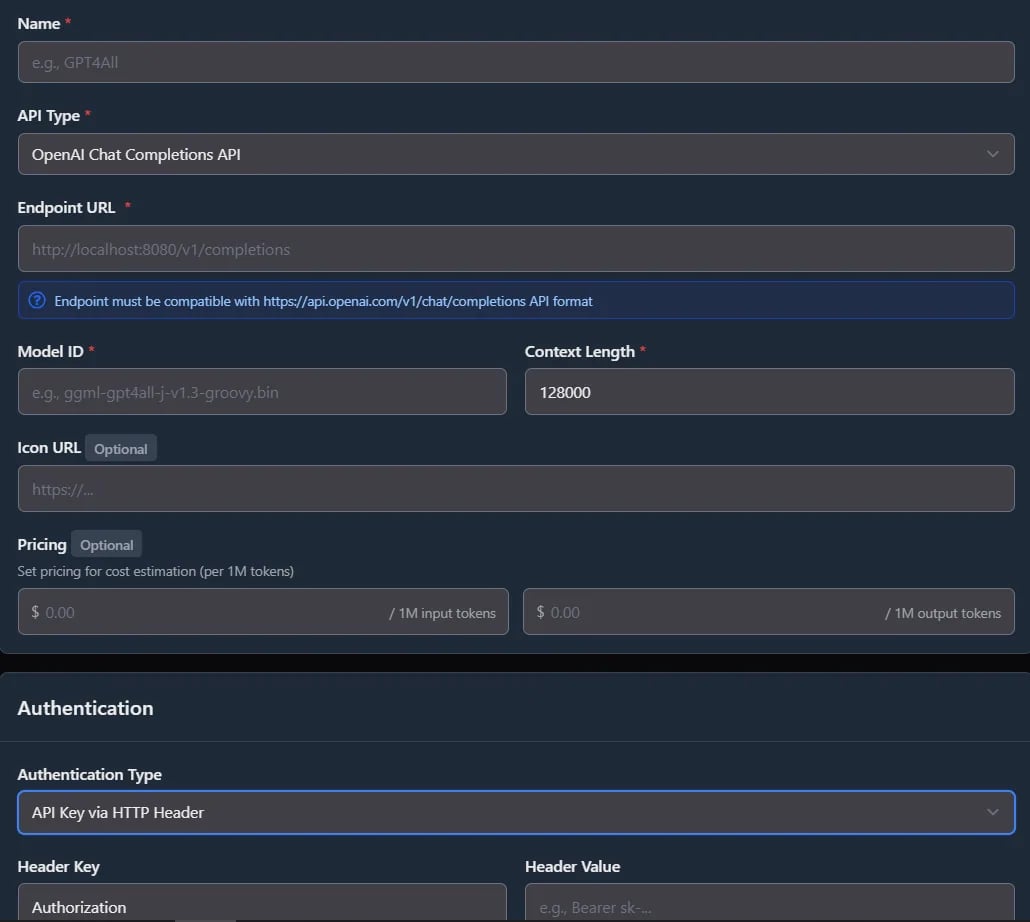 **Claude Opus 4.7**
| Field | Content |
| - | - |
| Name | anthropic/claude-opus-4-7 |
| API Type | Claude Messages API |
| Endpoint URL | [https://api.x6.ai/v1/messages](https://api.x6.ai/v1/messages) |
| Model ID | anthropic/claude-opus-4-7 |
| **Authentication Type** | API Key via HTTP header |
| Header Key | **x-api-key** |
| Header Value | \ |
Make sure to replace `` with your API key from [**x6.ai**](https://x6.ai/settings/api-keys).
**GPT-5.5**
| Field | Content |
| :- | :- |
| Name | openai/gpt-5.5 |
| API Type | OpenAI Chat Completions API |
| Endpoint URL | [https://api.x6.ai/v1/chat/completions](https://api.x6.ai/v1/chat/completions) |
| Model ID | openai/gpt-5.5 |
| **Authentication Type** | API Key via HTTP header |
| Header Key | Authorization |
| Header Value | Bearer \ |
Make sure to replace `` with your API key from [**x6.ai**](https://x6.ai/settings/api-keys).
You can add other [models](https://x6.ai/models) based on these.
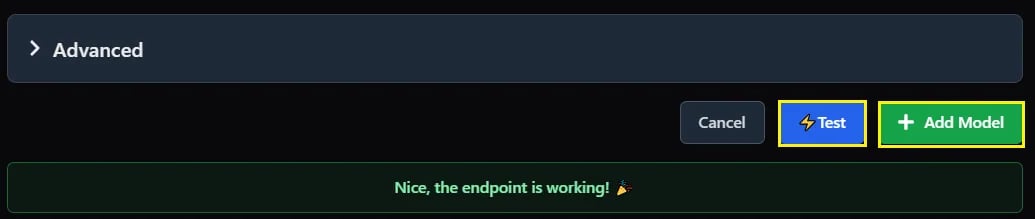
Click the **"Test"** button to verify the connection is working correctly.
Finally, click “Add Model”.
**Claude Opus 4.7**
| Field | Content |
| - | - |
| Name | anthropic/claude-opus-4-7 |
| API Type | Claude Messages API |
| Endpoint URL | [https://api.x6.ai/v1/messages](https://api.x6.ai/v1/messages) |
| Model ID | anthropic/claude-opus-4-7 |
| **Authentication Type** | API Key via HTTP header |
| Header Key | **x-api-key** |
| Header Value | \ |
Make sure to replace `` with your API key from [**x6.ai**](https://x6.ai/settings/api-keys).
**GPT-5.5**
| Field | Content |
| :- | :- |
| Name | openai/gpt-5.5 |
| API Type | OpenAI Chat Completions API |
| Endpoint URL | [https://api.x6.ai/v1/chat/completions](https://api.x6.ai/v1/chat/completions) |
| Model ID | openai/gpt-5.5 |
| **Authentication Type** | API Key via HTTP header |
| Header Key | Authorization |
| Header Value | Bearer \ |
Make sure to replace `` with your API key from [**x6.ai**](https://x6.ai/settings/api-keys).
You can add other [models](https://x6.ai/models) based on these.
Click the **"Test"** button to verify the connection is working correctly.
Finally, click “Add Model”.
 Click **"Chats"** in the top-left navigation area to access the conversation interface.
Select the model you just configured from the icon menu.
Click **"Chats"** in the top-left navigation area to access the conversation interface.
Select the model you just configured from the icon menu.
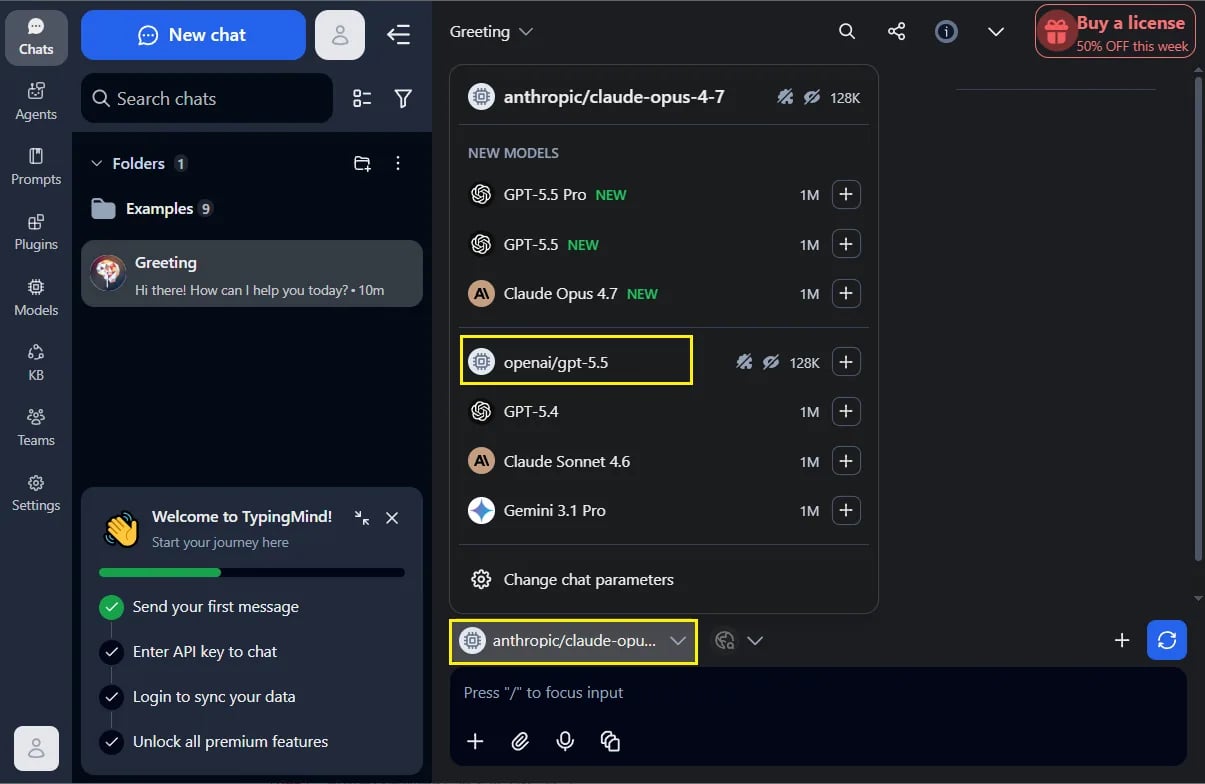 Enter your desired prompt to confirm the integration is functioning correctly.
# **Troubleshooting**
| **Issue** | **Solution** |
| :- | :- |
| **Authentication failed** | Verify your API key is correctly formatted with `Bearer` prefix (including the space) |
| **Model not responding** | Confirm the model ID matches the exact format from the x6.ai documentation |
| **Connection timeout** | Check your network connectivity and ensure the API endpoint URL is correct |
| **Test button fails** | Verify all custom headers are properly configured (Authorization and Content-Type) |
This documentation is built and hosted on [Mintlify](https://mintlify.com), a developer documentation platform.
Enter your desired prompt to confirm the integration is functioning correctly.
# **Troubleshooting**
| **Issue** | **Solution** |
| :- | :- |
| **Authentication failed** | Verify your API key is correctly formatted with `Bearer` prefix (including the space) |
| **Model not responding** | Confirm the model ID matches the exact format from the x6.ai documentation |
| **Connection timeout** | Check your network connectivity and ensure the API endpoint URL is correct |
| **Test button fails** | Verify all custom headers are properly configured (Authorization and Content-Type) |
This documentation is built and hosted on [Mintlify](https://mintlify.com), a developer documentation platform.